PREPARING LEADERS
IN AQUATICS
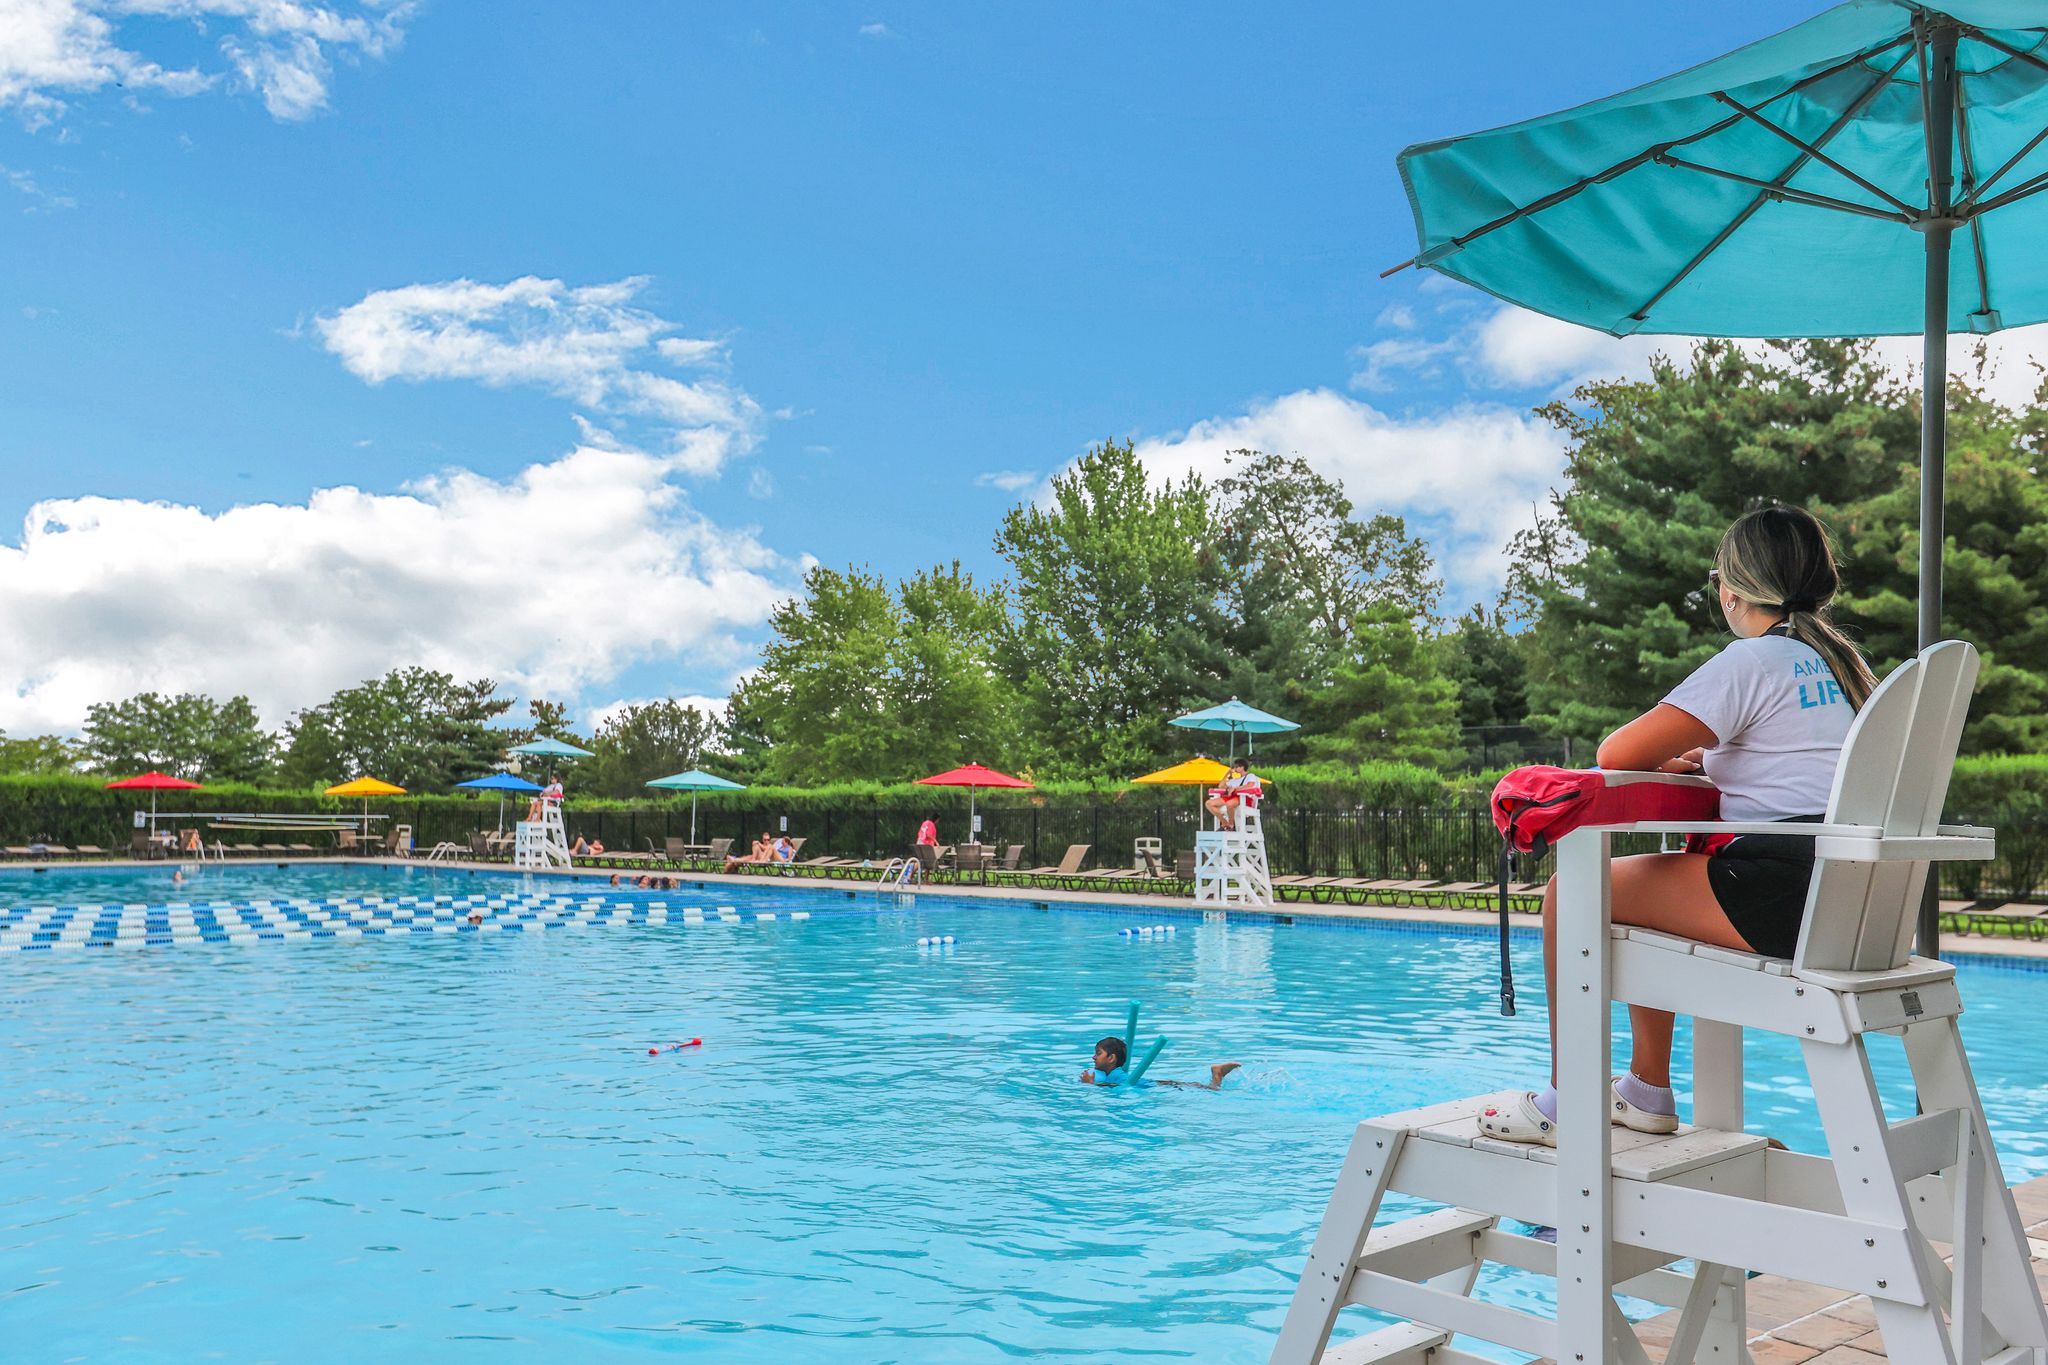
Many of our leaders began their careers in the field as lifeguards, seasonal staff, or junior technicians. Because aquatics is a specialized industry, we invest in developing our people through mentorship, training, and hands-on experience. We offer clear paths into leadership, technical roles, construction, and support services, turning entry-level positions into long-term careers.
Interested in Becoming A Lifeguard?
Visit our Become a Lifeguard page to learn more and apply.
Careers Beyond the Pool Deck
Regional Operations
Our regional leaders oversee groups of facilities and teams, staying closely connected to day-to-day operations. This structure ensures clients receive consistent oversight, clear communication, and hands-on support at the local level.
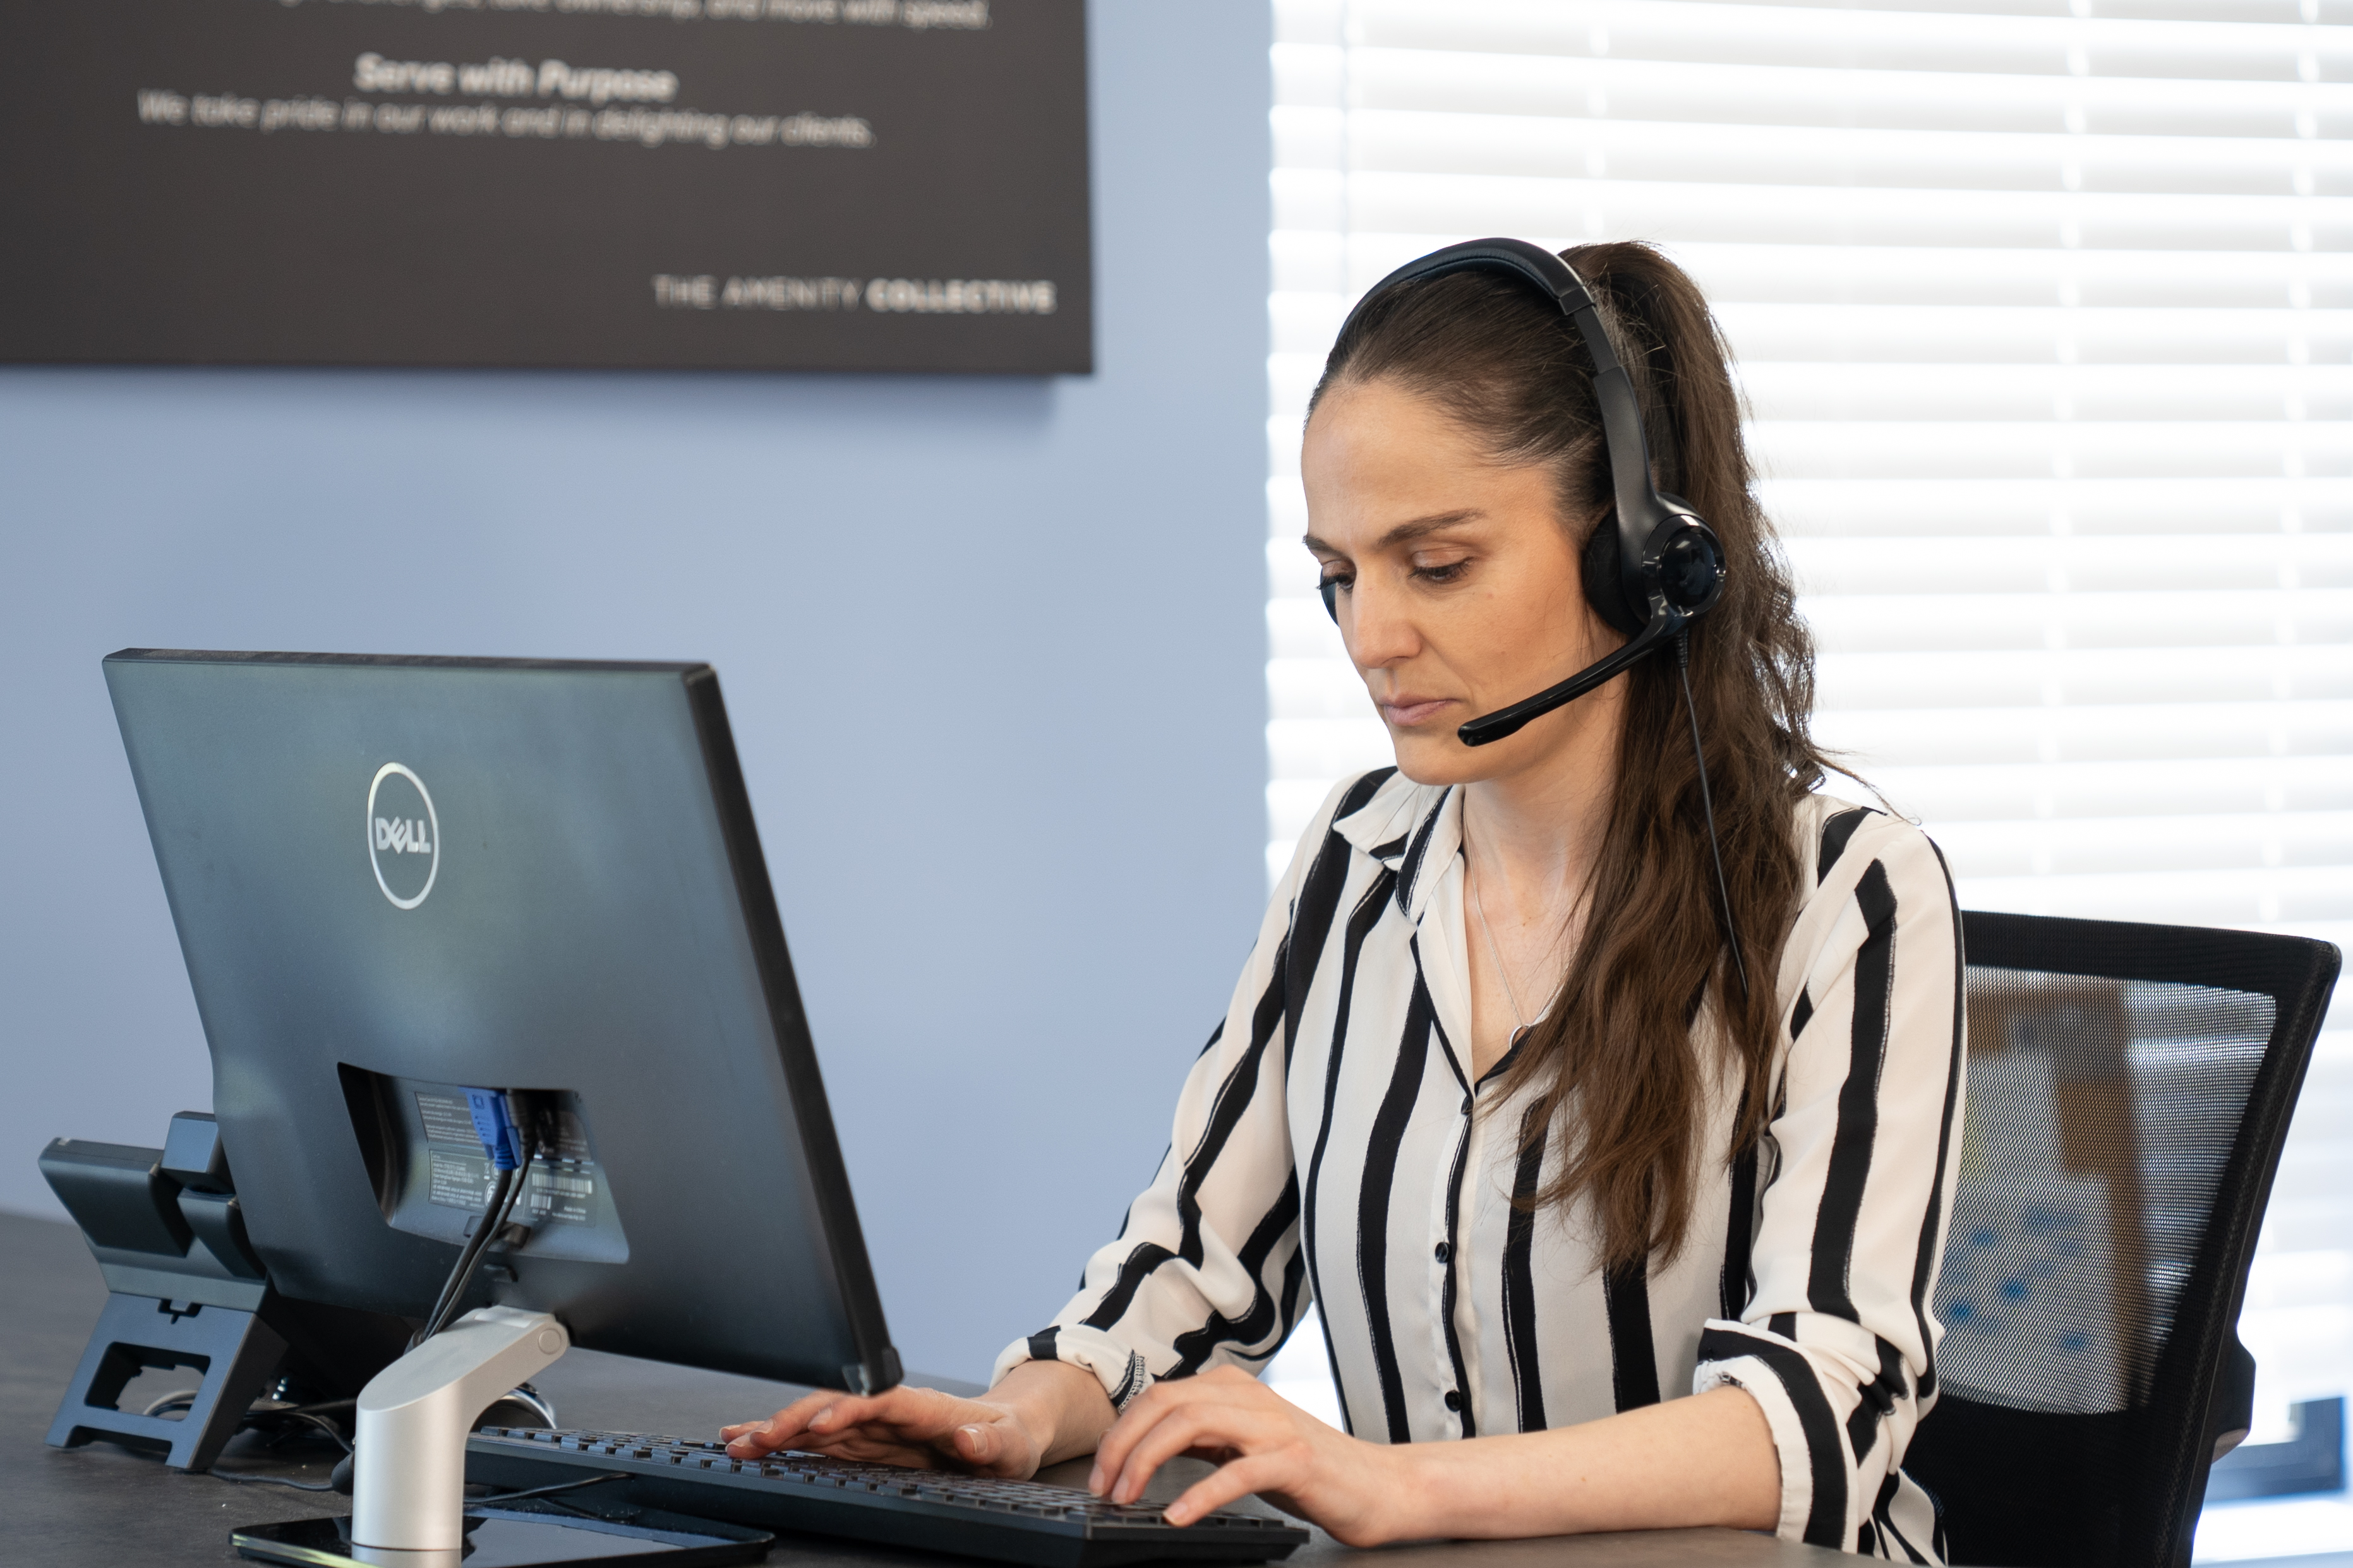
Operations & Administration
From office administrators to scheduling and coordination roles, these teams support daily operations and help keep facilities staffed, organized, and running smoothly.
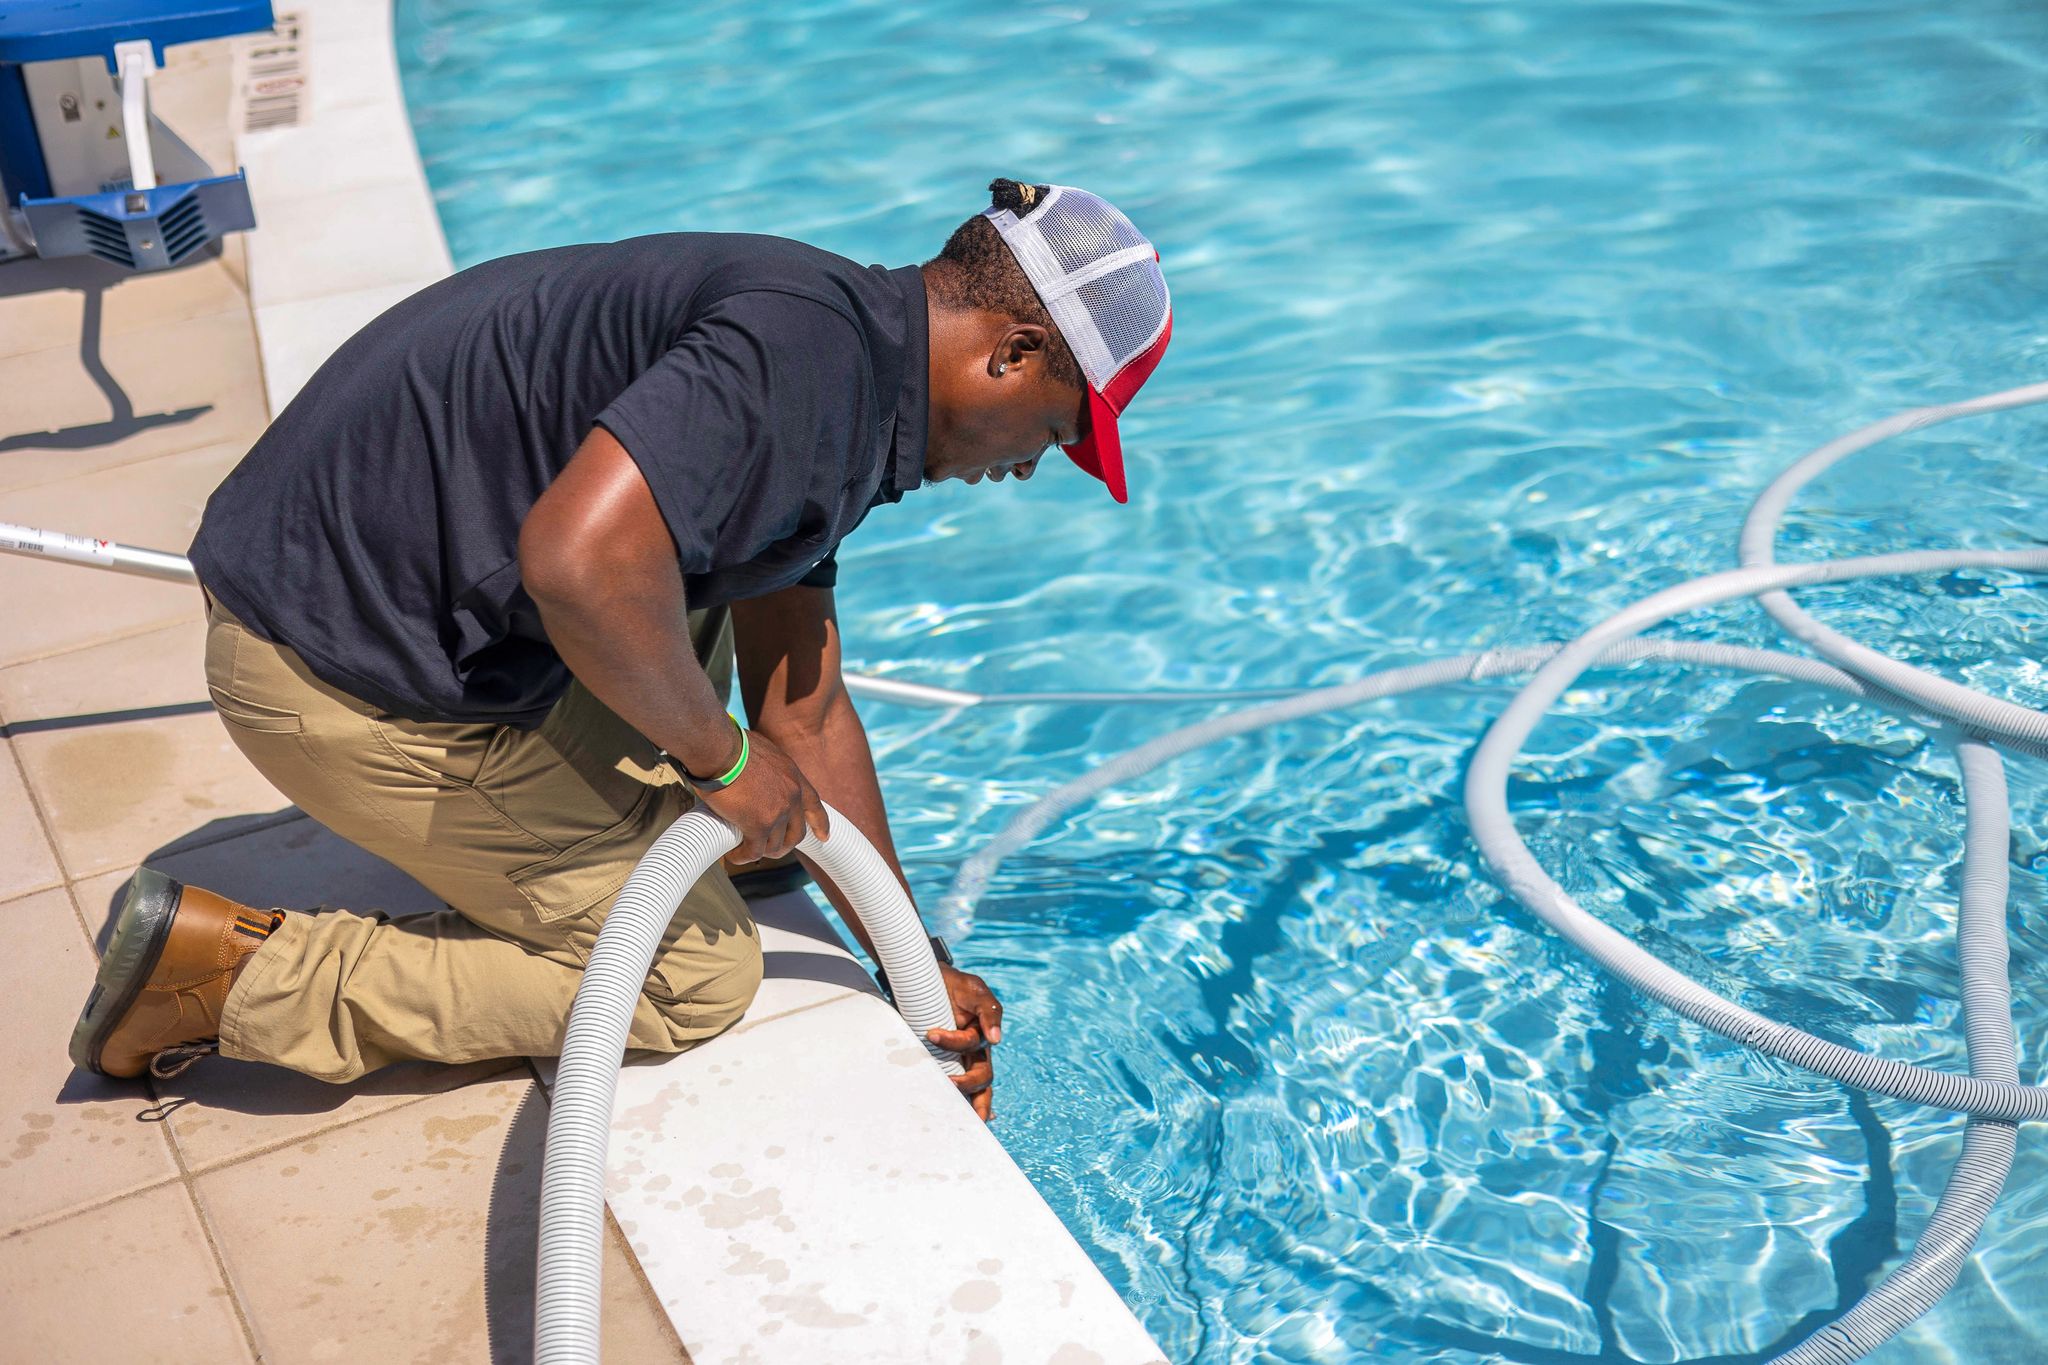
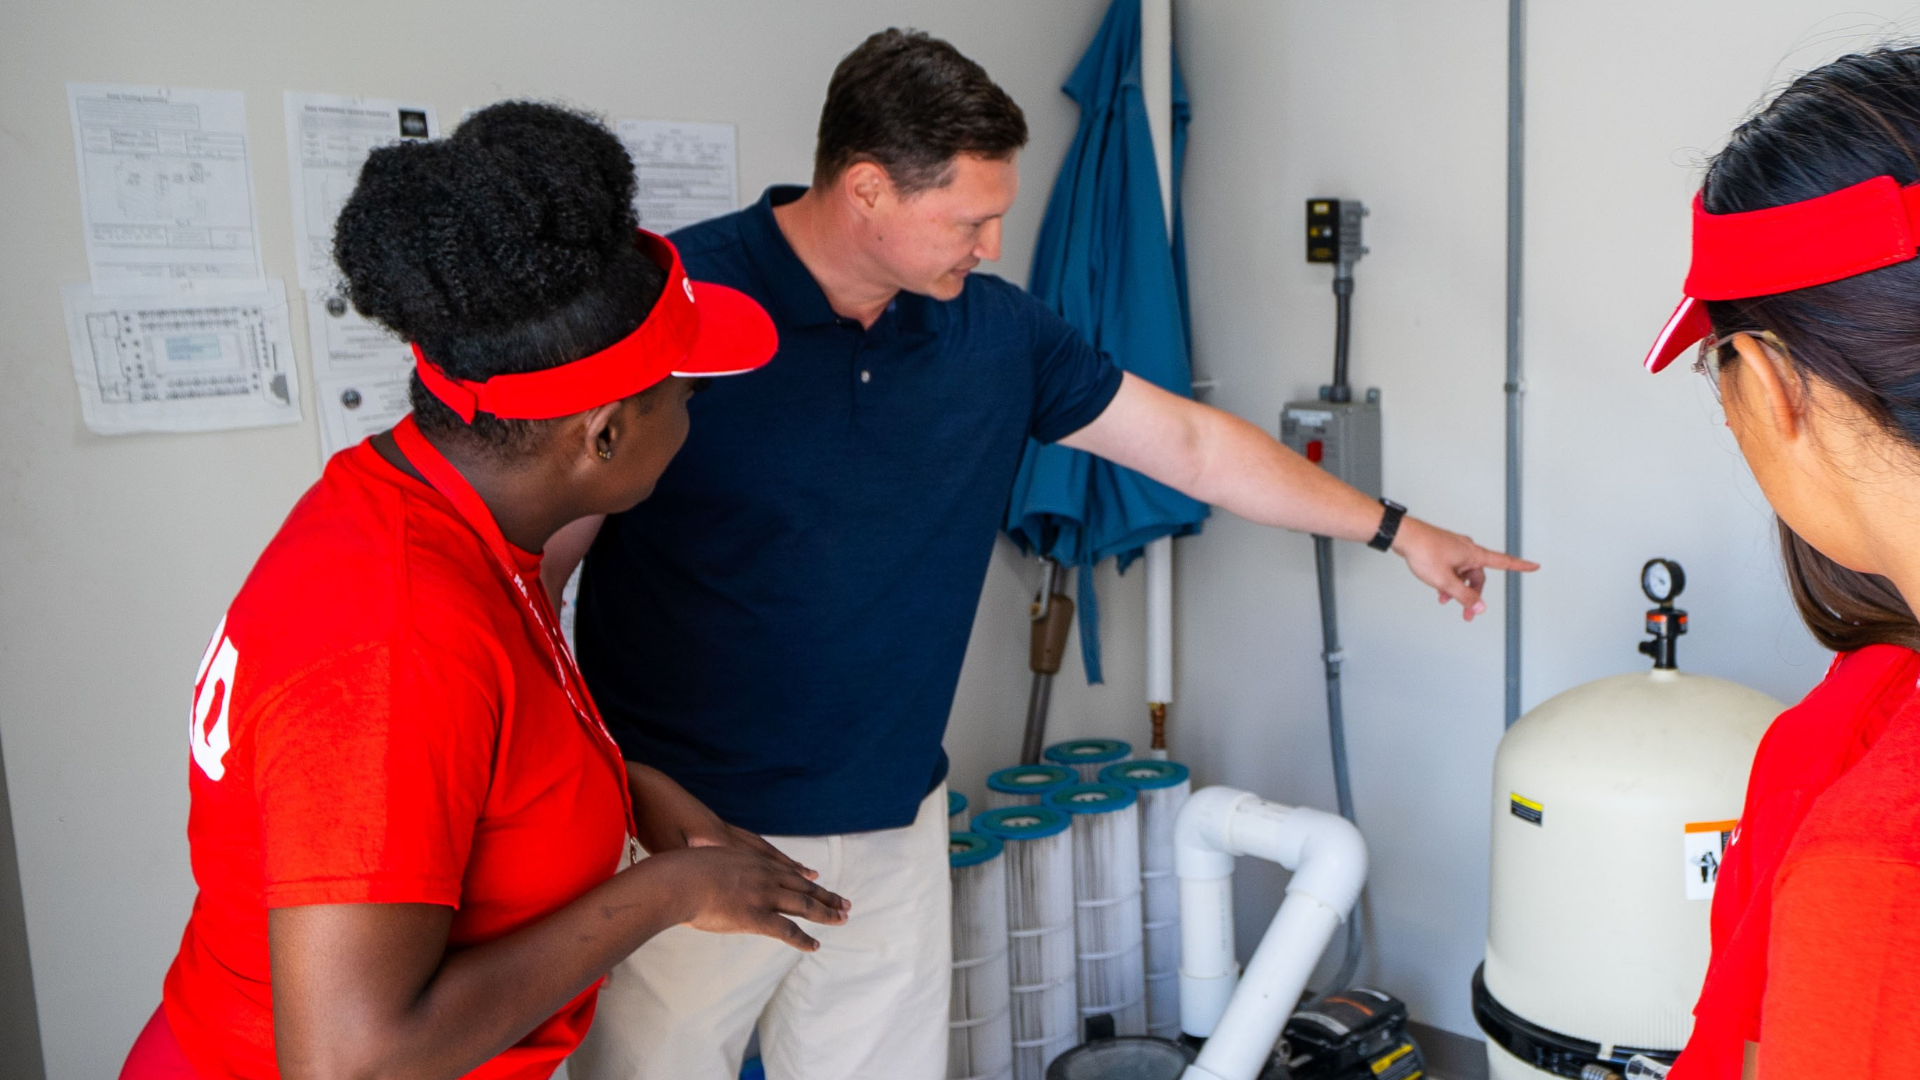
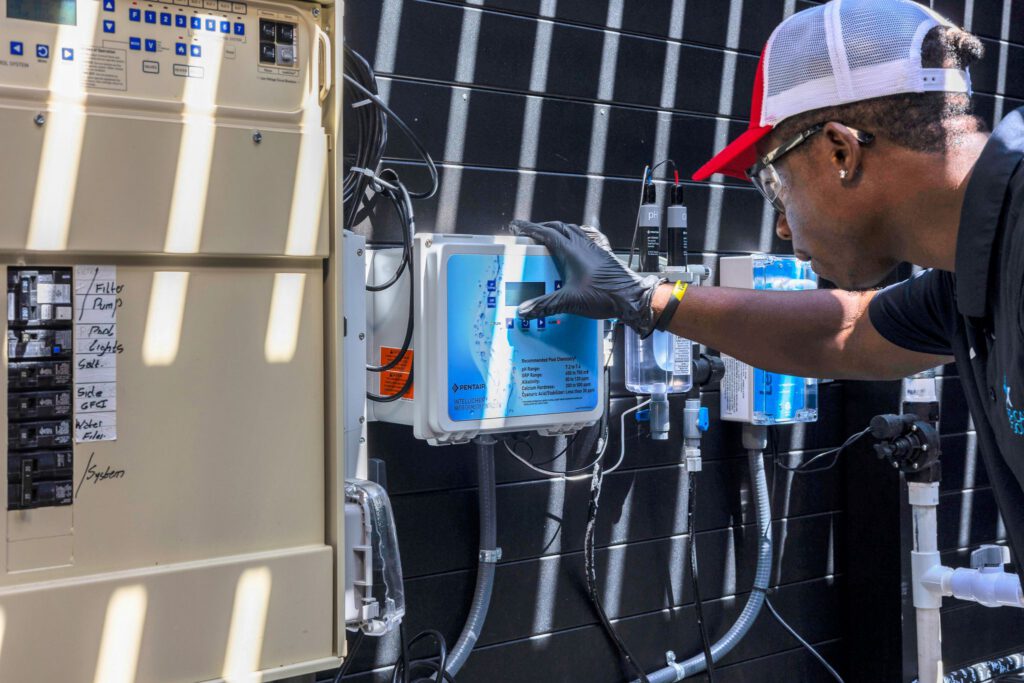
Maintenance & Technical Services
Our maintenance technicians and service specialists handle the work required to keep facilities clean, safe, and operating efficiently throughout the year, from routine maintenance to larger repairs and improvements.

SUPPORT Services
Our centralized support services teams provide expertise in IT, finance, HR, and marketing, handling the complexity behind the scenes. This allows our field teams to stay focused on delivering reliable service to clients and their facilities.
Repair & Renovation Services
Our technicians and project managers lead the work that restores, improves, and modernizes aquatic facilities. From surface repairs and equipment upgrades to larger renovation projects, these teams manage projects from start to finish: coordinating crews, timelines, and quality standards.